How to Make Homemade Yogurt From Scratch (Simple Yogurt Recipe)
If you’re trying to eat healthy on a budget, homemade yogurt checks all the boxes. At first, making yogurt from scratch sounds daunting, but it is so easy that you are going to wish you started making it sooner.
Making homemade yogurt can easily be a part of your weekly meal prep routine. It is so simple to make that it takes less than 5 minutes of hands-on time. This recipe is perfect for busy moms and families because you can multitask while making it.
Homemade yogurt is not only easy to make, but it’s also a healthier, more affordable alternative to store-bought options. The homemade yogurt recipe below can be made with cow milk, goat milk, sheep milk, raw milk, and pasteurized milk.
Stop spending a fortune at the grocery store and make yogurt from scratch. This frugal kitchen recipe is sure to be a staple. Save money by making yogurt, it costs just a fraction of what you’d pay for store-bought yogurt.
Plain yogurt does have a tangier taste compared to flavored varieties—but have you seen the ingredient labels? Many store-bought yogurts contain added sugars, gums, and fillers that simply aren’t necessary.
Homemade yogurt contains 2 ingredients: milk and yogurt cultures. Yogurt cultures are full of healthy fermented bacteria to improve your gut. Keep reading to learn more about the benefits of yogurt further down in the post. There is also a list of 50 toppings to put in your yogurt bowl.

What Is Yogurt?
Yogurt is fermented milk. You need live and active cultures to ferment milk. The cultures that specifically ferment milk are called Lactobacillus bulgaricus and Streptococcus thermophilus. During this fermentation process, the milk thickens and converts lactose into lactic acid. The pH of the milk is lowered, and the acidity causes casein proteins to solidify into a yogurt texture instead of liquid milk. Yogurt has a naturally tangy flavor and slightly fermented smell. People who are lactose intolerant can still enjoy yogurt because lactose is fermented out of the milk in the process.
Benefits of Homemade Yogurt
Health
Not all yogurt is created equally. Store-bought yogurt has artificial flavors, mystery sweeteners, gums, binders, etc. Homemade yogurt has 2 ingredients: milk and start cultures. The starter cultures in yogurt contain beneficial bacteria that help increase microbiome diversity within your gut. They are loaded with natural probiotics to help your gut health. The fermentation process of yogurt can reduce the lactose content and make yogurt acceptable for people with lactose intolerance.
Cost
Making yogurt at home is one of the easiest ways to save money on groceries while still eating healthy.. Instead of buying flavored yogurts, you can customize your own for less money. If you use a gallon of milk for yogurt, you get 3 quarts of creamy yogurt and 1 quart of whey. For example, purchasing 1 quart of organic yogurt costs about $7 at the store. In contrast, a gallon of organic milk is priced at $10. Making homemade yogurt comes out to about $3.33 a quart compared to $7 in the store.
Ingredients You Need To Make Yogurt
Best Milk for Yogurt: Choosing the Right Option
You can use cow milk, goat milk, sheep milk, raw milk, or pasteurized milk.
Whole Milk:
Characteristics: Produces a rich, creamy yogurt with a thick texture. Whole milk is often preferred for its luxurious mouthfeel and satisfying flavor, making it ideal for yogurt enthusiasts.
Low-Fat Milk:
Characteristics: Results in a slightly thinner yogurt compared to whole milk but still maintains a pleasant taste. It is a good option for those looking to reduce calorie intake without sacrificing too much flavor.
Skim Milk:
Characteristics: Produces a tangy yogurt that is lower in calories. However, the lack of fat can lead to a less creamy texture, which may require the addition of thickeners or cream to improve consistency.
Alternative Dairy Milks:
You can use dairy free and lactose free milk, but they require additional gums, thickeners or stabilizers to achieve the same texture as traditional yogurt.
Pasteurization:
Can I use raw milk to make homemade yogurt?
Yes, you can use raw milk but it is still recommended to heat raw milk first to about 180°F before adding the cultures. I know, I know, heating raw milk pasteurizes it and kills all the beneficial things about raw milk, but heating helps create a more consistent, thicker yogurt. If you skip heating, your yogurt may be thinner and less predictable.
Using ultra-high pasteurized milk can change the taste of yogurt. Ultra-high pasteurization is when the milk is heated to 280°F for 2-4 seconds. This kills off almost all bacteria and extends the shelf life. In the process, it denatures milk proteins. That can affect the taste, although it is still edible.
Homogenization and ultra-pasteurized milk is a safe choice of milk for yogurt. Homogenization is a mechanical process that breaks down large fat globules into smaller particles to prevent a cream. This process does not kill bacteria, just gives it a uniform texture. Ultra-pasteurized milk is milk brought to a higher temperature than pasteurized milk but lower than ultra-high pasteurized.

Yogurt Starter Culture
You need cultures to ferment milk into yogurt. Similar to needing a scoby for brewing kombucha and a starter for sourdough. Your fermentation process needs to be kick started with the right bacteria. The cultures that specifically ferment milk are called Lactobacillus bulgaricus and Streptococcus thermophilus. You can find those cultures in store bought yogurt where it says “contains live and active cultures” on the container. Plain yogurt will be the best place to find live and active cultures.
You can also use a freeze-dried yogurt starter but it might need some liquid to become the right consistency again. Just follow the instructions on the label.
If you plan to make homemade yogurt pretty consistently, you can save yogurt from a previous batch. You can typically reuse a starter 4–6 batches before the cultures weaken. After that, your yogurt may become thinner or less tangy, so it’s best to start fresh with a new culture.
You can use Greek yogurt and flavored yogurt but the taste and consistency will be off. I made yogurt with a Greek yogurt starter cultures and the final batch of yogurt was very clumpy.
Equipment Needed
There are specific yogurt machines that make yogurt, but it is not necessary to make yogurt. You don’t need fancy equipment or expensive ingredients to make yogurt at home. You can also make yogurt in a large pot, a crock pot, or an Instant Pot. The newer versions of Instant Pot, have a yogurt setting.
If you are going to make yogurt without a machine or appliance, you will need the following equipment:
- Large pot
- Thermometer
- Glass jars
- Towels or oven/light
- Optional: strainer and cheese cloth
How to Make Yogurt Without a Yogurt Maker
Directions
Turn heat source on and pour milk into pot so it reaches a temperature of 185°F
If using a crock pot: turn the crockpot on to high and pour the milk in, it will take around 3-4 hours
If using an Instant Pot: turn on boil with yogurt setting
Once it reaches around 185°F, turn the heat source off and let the milk cool to about 120°F. While cooling, it may form a skin on the top. This is normal.
Once it cools down to 120°F it is ok to add in the yogurt starter culture. Careful! Adding your starter while the milk is too hot can kill the live and active culture
Stir until the yogurt mixture until it is fully dissolved.
Cover the pot with a towel and place it inside the oven and put the oven light on. You can even preheat the oven to 100°F and turn it off to keep the oven warm overnight. Alternatively, you can place the pot on a sunny windowsill or in a cooler. You can find what method works for you as long as you maintain a warm temperature for about six hours.
If using a crock pot: treat the crock the same as a large pot above
If using an Instant Pot: turn on the yogurt function and set a timer for duration.
Once six hours have passed, you can strain the excess liquid out with a cheese cloth for a thicker consistency. You can ferment the yogurt longer, up to 24 hours, for a more tangy flavor with less lactose.
Bottle the yogurt and put in the fridge, and store up to two weeks.
How Long to Incubate Yogurt
| Incubation Time | Flavor & Result |
| 6 hours | Mild, slightly sweet yogurt |
| 8 hours | Classic yogurt flavor |
| 10–12 hours | Tangy, thicker yogurt |
| 24 hours | Extra tangy, lower lactose yogurt |
Summary:
- Heat milk to 180°F
- Cool to 110–115°F
- Add starter culture
- Incubate 6–12 hours
- Chill and set
Homemade Yogurt
Equipment
- 1 Large pot
- 1 Thermometer
- 3 Glass or Plastic jars
- 2 Towels
- Optional: strainer and cheese cloth
- Optional: Crockpot or Instant Pot
Ingredients
- 1 Gallon Milk of choice
- 1 cup Starter yogurt
Instructions
- Turn heat source on and pour milk into pot so it reaches a temperature of 185°F. Don't let it boil.If using a crock pot: turn the crockpot on to high and pour the milk in, it will take around 3-4 hoursIf using an Instant Pot: turn on boil with yogurt setting
- Once the milk reaches around 185°F, turn the heat source off and let the milk cool to about 120°F. While cooling, it may form a skin on the top, this is normal.
- Once the milk cools down to 120°F, add in the yogurt starter culture. Careful! Adding your starter while the milk is too hot can kill the live and active culture
- Stir until the yogurt mixture until it is fully dissolved.
- Cover the pot with a towel and place it inside the oven and put the oven light on. You can even preheat the oven to 100°F and turn it off to keep the oven warm overnight. Alternatively, you can place the pot on a sunny windowsill or in a cooler. If using a crock pot, treat the crock the same as a large pot aboveIf using an Instant Pot: turn on the yogurt function and set the timer for a duration of at least 6 hours to 12 hours.
- Once six hours have passed, you can strain the excess liquid out with a cheese cloth for a thicker consistency.
- Bottle the yogurt and put in the fridge, and store up to two weeks.
Notes
|
Incubation Time
|
Flavor & Result
|
|
6 hours
|
Mild, slightly sweet yogurt
|
|
8 hours
|
Classic yogurt flavor
|
|
10–12 hours
|
Tangy, thicker yogurt
|
|
24 hours
|
Extra tangy, lower lactose yogurt
|
How to Make Thick Yogurt
You can strain yogurt to get a thicker texture. Each batch of yogurt is different. Some batches you might not need to strain and others you might want to – even if you used the same method! You can set up a mesh strainer with a cheese cloth and let it rest for about 10 minutes. The thick yogurt will be left and you will now have whey. The whey is a clear-ish, yellow liquid When you do strain your homemade yogurt, you will get a clear-ish, yellow liquid called whey.
Save the whey! It is packed with nutrients and probiotics, but bear in mind it is tangy. Most of the acidity of yogurt is in the whey, so straining it out of the yogurt will make the homemade yogurt taste less tangy. If you make a gallon of milk for yogurt, you get 1 quarts of whey and 3 quarts of creamy yogurt.
How Long Does Homemade Yogurt Last
Once you made this delicious yogurt, you can bottle it in mason jars. You can also store yogurt in the plastic containers from store-bought yogurt or food prep containers. In the refrigerator, homemade yogurt lasts 7-14 days. Make sure you save at least a spoonful of yogurt from each batch of homemade yogurt so you can make more again. If you don’t plan on making yogurt back-to-back, you can freeze your homemade yogurt starter.
How To Use Yogurt
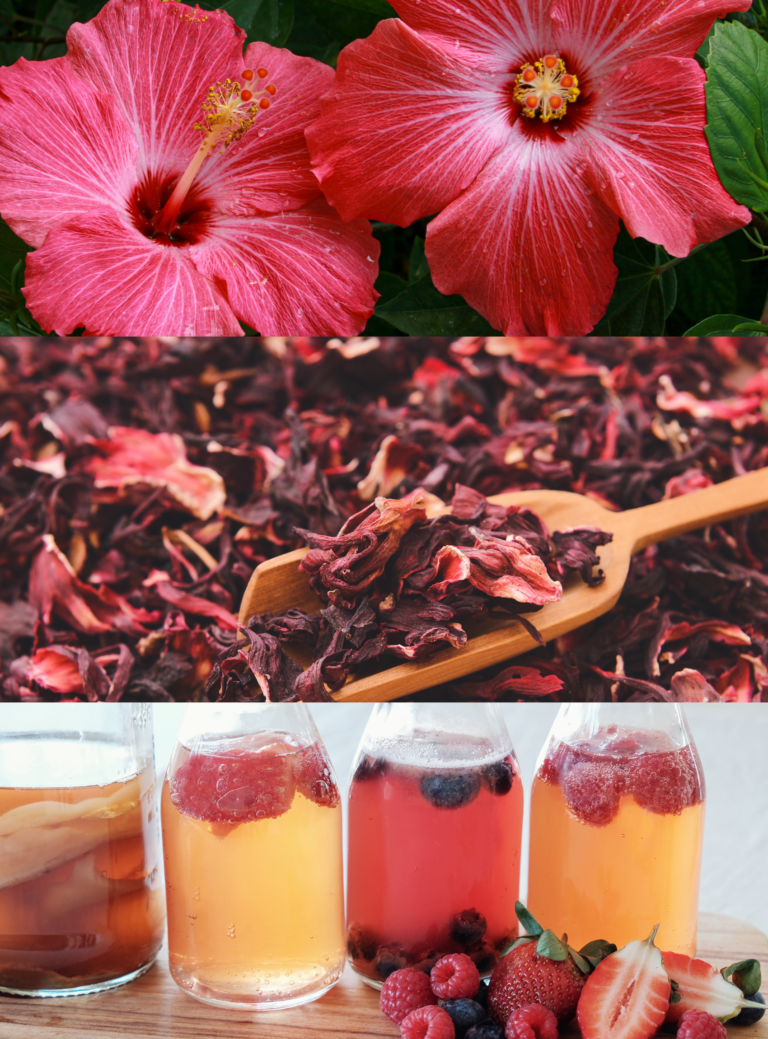
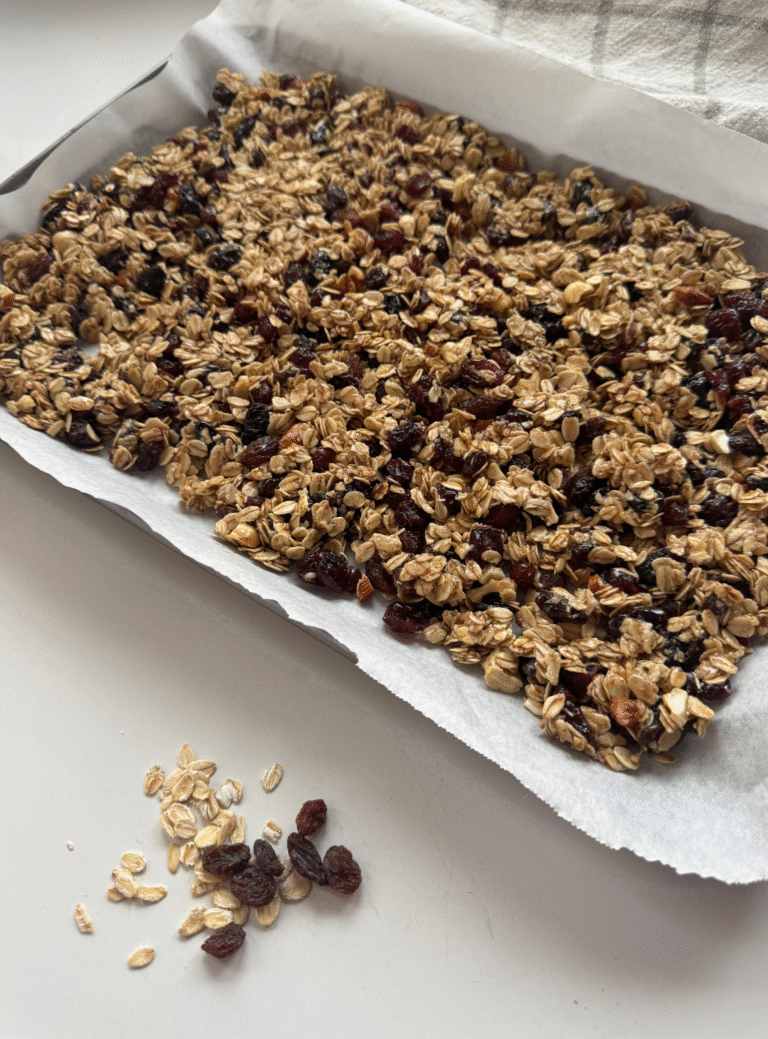
This plain yogurt recipe is so simple and can be personalized up any way you desire. The opportunities of plain homemade yogurt seem endless. You can use yogurt for smoothies or add toppings. Want to make your own granola to top your homemade yogurt? Follow this fully customizable recipe. Need yogurt add-in inspiration? There are 50 options below. For a savory side of yogurt, you can add seasonings and use it in dips or sauces. I have seen yogurt used as a facial and even an all-natural finger paint recipe for babies. You can add food coloring or natural colorants like turmeric, beet juice, berries, and more.

Most Popular Yogurt Bowl Toppings
50 toppings to make the perfect yogurt bowl
- Strawberries
- Blueberries
- Raspberries
- Blackberries
- Bananas
- Sliced apples
- Peaches
- Nectarines
- Mango
- Pineapple
- Kiwi
- Pomegranate seeds
- Cherries
- Grapes
- Figs
- Granola
- Almonds (sliced or whole)
- Walnuts
- Pecans
- Cashews
- Pistachios
- Chia seeds
- Flaxseeds
- Hemp seeds
- Coconut flakes
- Cacao nibs
- Crushed graham crackers
- Honey
- Maple syrup
- Agave nectar
- Brown sugar
- Chocolate chips
- Dark chocolate chunks
- Nutella
- Fruit preserves or jam
- Caramel drizzle
- Cinnamon sugar
- Peanut butter
- Almond butter
- Cashew butter
- Sunflower seed butter
- Tahini
- Protein powder
- Collagen powder
- Bee pollen
- Spirulina (small amounts)
- Matcha powder
- Vanilla extract
- Lemon zest
- Pumpkin puree
Did I miss your favorite toppings? Leave a comment to inspire other readers!
Common Problems and FAQ
Why is my yogurt runny?
Runny yogurt is usually caused by a few different things including:
- Milk not heated to 180°F before culturing
- Starter added when milk was too hot (kills cultures) or too cool (weak fermentation)
- Not incubating long enough
- Weak or old starter culture
Why is my yogurt grainy?
Grainy or clumpy yogurt can happen when:
- Greek yogurt starter used
- Milk was overheated
- Starter wasn’t mixed in smoothly
- Incubation temperature fluctuated
Can yogurt go bad during incubation?
Yes, it can. While rare, yogurt can spoil during incubation if:
- Temperature is too low or inconsistent
- Harmful bacteria outcompete the good cultures
- Equipment wasn’t properly cleaned
Can I use Greek yogurt as a starter?
Yes, you can use Greek yogurt as a starter—as long as it contains live and active cultures.
Keep in mind: yogurt made this way can turn out slightly clumpier or thicker than regular yogurt.
Can I make yogurt without a thermometer?
Yes, but it takes a little practice. You’re aiming for milk that feels very warm but not hot enough to burn your finger (around 110–115°F when adding the starter). Without a thermometer, consistency may vary, but it’s definitely doable.
Do I need a yogurt maker?
No, you don’t need a yogurt maker. You just need to keep the yogurt warm for several hours.
You can use:
- An oven with the light on
- A cooler
- Wrap a blanket around the crock pot
- A sunny window
- Instant Pot (yogurt setting)
Why heat milk to 180°F?
Heating milk to 180°F:
- Kills unwanted bacteria
- Denatures proteins so yogurt thickens better
- Results in a smoother, creamier texture
Skipping this step often leads to thinner yogurt.
Can I make yogurt with lactose-free milk?
Yes, you can make yogurt with lactose-free milk. The process is the same, but the yogurt may taste slightly sweeter because the lactose has already been broken down.
Can I make dairy-free yogurt?
Yes, but you’ll need:
- Plant-based milk (like coconut, almond, or soy)
- A dairy-free starter culture
Note: Dairy-free yogurt usually needs a thickener (like agar, tapioca, or gelatin alternatives) to get a good texture.
Conclusion
Making yogurt at home is a budget-friendly option that allows you to control the ingredients and customize flavors, making it healthier than store-bought yogurt for your family. The live and active cultures that ferment milk into yogurt provide added health benefits. Your gut health will thank you!
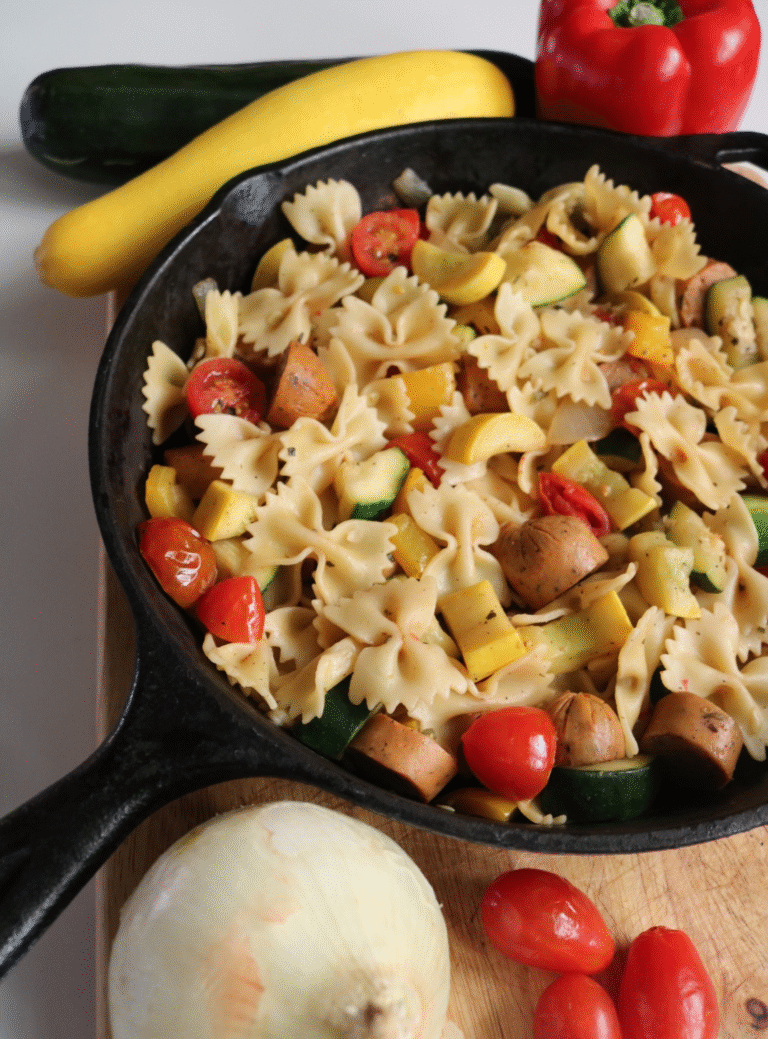
This plain yogurt recipe is so simple and can be personalized any way you desire. My favorite part about making yogurt is its versatility and its simplicity. I could easily use homemade yogurt for every meal. Breakfast yogurt bowls, use yogurt for homemade with mac and cheese for lunch and make a cilantro lime sauce for dinner. The opportunities with homemade yogurt are endless.
Making your own yogurt is just one more step toward a simpler, more self-sufficient kitchen—give it a try and taste the difference!
This post may contain affiliate links. Please read our disclosure policy


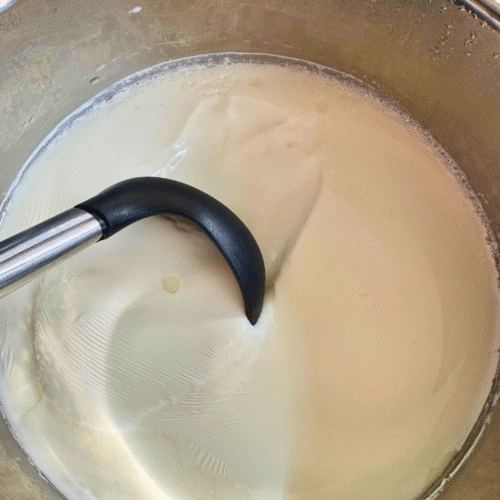
Definitely have had the Greek yogurt starter make thicker, lumpier yogurt before. My hack is using an immersion blender, and it goes back to the thick, yet smooth texture I was looking for!
Also, I love that you add in the yogurt starter at 120 degrees because sometimes I get impatient waiting until 110 degrees (my normal practice.)